Technology Blog

Post header image

Intro

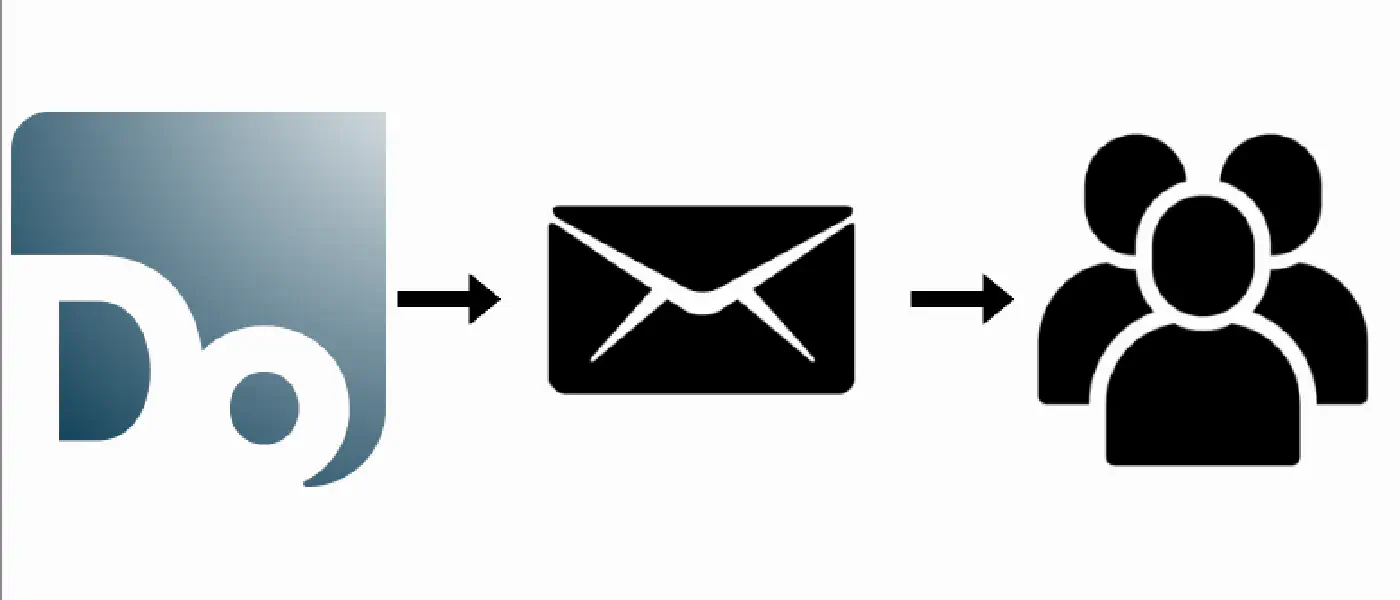
When you’re building a consumer-facing product, you’re very quickly going to need a way to communicate updates and changes to those users outside the product itself. At SimplyDo, we send notifications for a variety of things - updates to ideas, challenges, groups, and more. We also notify users for relevant account updates, such as password changes.

Communicating with users is a powerful part of SimplyDo’s customer success process, and a key method of driving engagement and re-engagement. Many users first interaction with SimplyDo is via a notification - so ensuring these are successful is of paramount importance to us.

We started out with simple email notifications, but this quickly grew over time as we added features and expanded our scope. Here is a narrative of how communicating with our users has evolved over time, and the unseen complications that come with it.

Email

Email is the obvious first step for communicating with your users. After all, if you’re operating a service that requires creating an account, you’re highly likely going to require users to provide emails on sign-up - and you need a way to verify those emails, allow them to reset password, and send any important account notifications.

We operate our own mail server in our cloud, but it’s also possible to use a third-party service such as SendGrid or Mailgun. Whether you run your own server or use a third-party one, they will all act similarly - they act as a SMTP mail relay, and you send emails to them, and they send them on to the recipient. They can also handle bounces, and incoming mail, which is something we’ll come back to later.

Step 1: Sending the first messages

Regardless of the approach you use for sending emails, your immediate concern will be how the emails look. After all, it’s highly unlikely any professional product will be sending plain-text emails. You’ll want to send HTML emails, and you’ll want them to look good.

Because our emails are coming from our services (e.g. our Python backend), the design is done in code. We use Jinja templates for our email design; we have a global base template that all emails use, and then each email has its own template that extends the base template. This allows us to have a consistent look and feel across all emails, and also allows us to easily change the design of all emails by changing the base template. From the Jinja template we customise the main text, any actions (e.g. buttons) and any other dynamic content. The templates in-code are converted to HTML content, which is then sent to the mail server. Python’s smtplib library is used to send the content to the specified mail server, with the appropriate headers and addresses.

Step 2: User preferences

Once you have the ability to send emails, you’ll quickly realise that you need to give users the ability to control what emails they receive. This is a legal requirement in many countries, and is also just good practice to avoid spamming your users with unwanted emails, and you don’t want to be sending emails to users who are not interested.

As soon as your emailing expands beyond account specific emails, you will need to give users controls over what they receive. For example, if you’re sending notifications for new ideas, you’ll need to give users the ability to opt-out of those notifications. You may also want to batch communicate in some way, to avoid spamming users with too many emails. We added a number of “digest” emails to our product, which summarise activity in daily, weekly or monthly chunks.

Our emails have two methods for opting out.

  1. Account Preferences. We initially allowed users to adjust their email preferences from their user account page. We provision all new user accounts with a default set of email subscriptions, and they can adjust these from their account settings. This was an important initial step, but we encountered problems where users who haven’t logged in for a while, or have forgotten their password, were still receiving emails. We needed a way to opt-out of emails without requiring a login.
  2. One-click Unsubscribe. GDPR requirements state that your email communication must have an obvious way to unsubscribe from them. All of our non-account emails have a one-click unsubscribe link that includes a token linked to their account and the type of email being sent. Even if users are not logged in, clicking this link verifies the token with our API, and if valid, will unsubscribe them from this type of email without them having to authenticate themselves.

Step 3: Avoiding rejection

SimplyDo as a platform houses “organisations”, which have users contained within them. This means that organisation admins have some control over communicating with users within their organisation. They are also able to send “announcements”, which are effectively custom emails sent to any/all users in SimplyDo that use our email service. This has become very important to our clients, but also means that administators could potentially spam users with emails, even if this is not their intention. We can also encounter the issue of bounced emails - if an email address is no longer valid, or the recipient’s email server rejects the email, we need to handle this.

One of the main issues with spam for us is that it can potentially result in our email server being blacklisted by common email providers. This would mean that emails sent from our server would be rejected by the recipient’s email provider, and would not be delivered. This is a problem we desperately want to avoid as it would totally disrupt the service for our users. Bounced emails can also cause blacklisting.

Bounced emails

As the platform matured, we added robust email tracking to keep an eye on email bouncing. We are notified when an email bounces, and we keep records of unsent emails to aid investigation. We can use these logs and notifications to quickly identify and resolve any issues with our email service, or any user accounts that may be causing problems.

Enforcing email verification can also help with bounced emails, as we immediately know if an email address is invalid before sending a plethora of communication to that address.

Spam emails

Spam is much harder to avoid given we allow users to send custom emails to other users. Our foremost method of avoiding this is communication & trust - We let users know that it is prohibited to send spam emails, letting them know of the consequences of having emails marked as spam. Given that our clients are equally invested in the success of our platform and communicating with users, they tend to be careful about this.

You could theoretically also implement automatic anti-spam measures, ranging from time limits to more sophisticated content analysis. We have not yet had to implement any of these measures, but it is something we may consider in the future.

We also need to be careful to avoid spam with our automated messages for things like new ideas, challenges, etc. If we send too many that aren’t relevant to a given user, they may mark them as spam, which dings our email reputation. We attempt to avoid this by offering users to receive updates in digest form, and by default only sending the minimal amount of emails required for the platform to succeed.

Push Notifications

Beyond our web app, we also offer a native mobile app for Android and iOS devices. A side-effect of this is that we can also send push notifications as a companion to our emails. They allow us to deliver updates directly to users’ lock screens, provide more immediacy than emails, and also tend to be seen more reliably. They also give us another avenue to reach users who are in a position where accessing their emails isn’t a common occurrence.

Implementation

Our mobile app was developed using React Native and Expo; Expo helpfully provides a Push Notifications API that allows us to send push notifications to our users. We then utilise their Python helper library to implement a simple API that allows us to send push notifications from our backend. We tend to link push notifications to our email setup - many of our emails have an equivalent push notification, so they can be sent in parallel for the same event. We also implemented the same method for opting out of push notifications as we did for emails - users can opt out from their account settings.

Another advantage of push notifications is how closely they integrate with the mobile app itself. Using deep linking, push notifications can open the app directly to a specific page; an idea push notification can open the app directly to that idea, for example. This allows us to drive engagement with the app in a way that emails cannot. While emails remain as our primary method of communication, push notifications are a useful companion to them.

Web Push Notifications

Beyond emails and push notifications, we have begun experimenting with other ways to communicate with our users. Some of these are in the pipeline, but one we have currently started to use is web push notifications. These are very similair to mobile push notifications, but appear in a user’s browser on their desktop or mobile device instead. They allow us to provide the immediacy of push notifications without a user having to install our mobile app.

Implementation

Due to the fact we already had a mobile app notification infrastructure setup, it was relatively trivial for us to implement web push on our backend. We can use the same text and images as we do for mobile push notifications, and the same API in our product stack.

Then on our web application, we utilise the JavaScript Firebase Cloud Messaging API to register users for web push notifications. We send the registered token to our backend to be linked with the current user account, so whenever a mobile push notification would be sent, a web push notification is also sent to the same user through Firebase.

Difficulties

While we find web push notifications to be powerful when available, the availability became an issue for us. Web push notifications are only available on relatively modern browsers, and we have many clients running older browsers that do not support the web push APIs. It also requires users to give their permission for web push notifications, when many users may be accustomed to denying them due to the prevalence of spammy web push notifications on many websites.

Outro

We have previously, and continue to, experiment with as many methods of communicating with our users as possible. Finding ways to reach users in increasingly crowded inboxes allows us to increase our own signals against the existing email noise, and provide timely updates and notifications that they need.

We still find email to be by far our most reliable and successful form of communication. Despite the advantages offered by push notifications, the ubiquity of email and widespread understanding causes it to be the most important tenet of our communication strategy.

This article focuses on the narrative of how our communication evolved over time, but skips out on the heavier details of a successful email strategy. The technical implementation of providing a consistently available email service has been challenging over time, and the more theoretical ideas behind adding effective Call To Actions (CTAs) to emails are a whole other topic. This article aims to demonstrate how complicated user communication can be beyond the initial remit of “sending a password reset email”, and how it can grow over time.

Post header image

Intro

At SimplyDo, we are constantly looking for ways to extend the accessibility of our end-user facing platform. We expect that our end-users (the idea creators) will access SimplyDo in a wide variety of hardware and platforms. One of the biggest hurdles we face is supporting this diversity in addition to expanding the usefulness of our product.

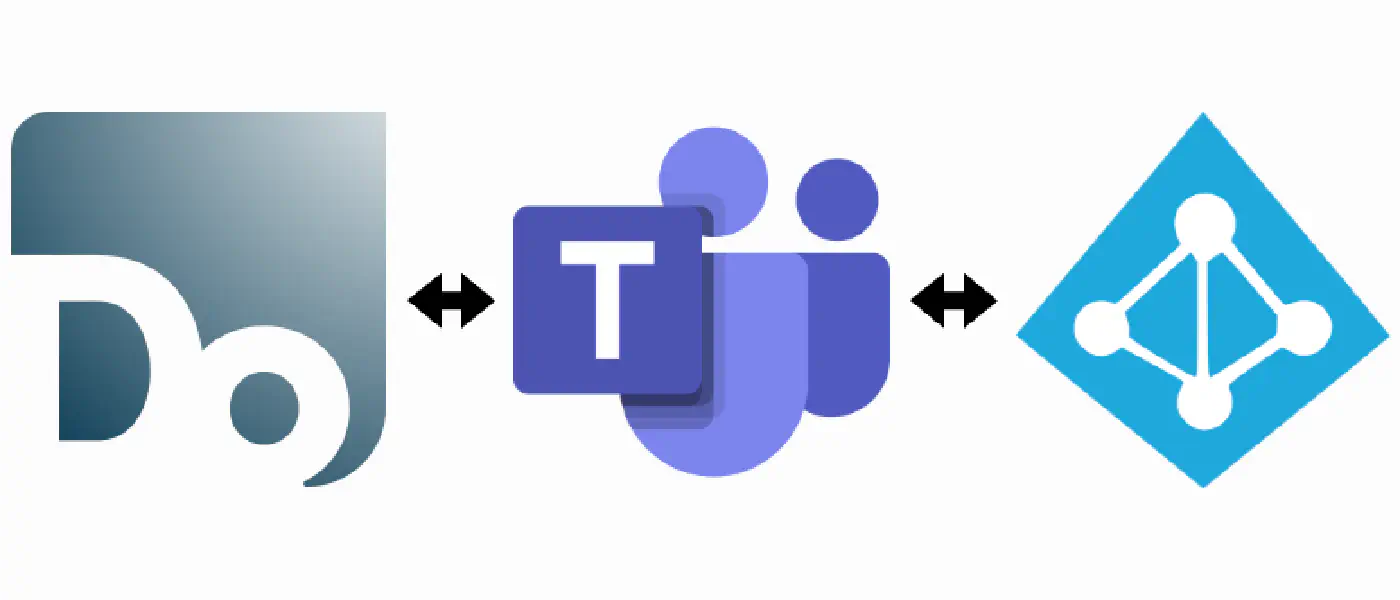
One of our biggest challenges is, consistently, the initial step of getting users into the platform for the first time. Providing the motivation and simplicity to entice unique users is a compelling challenge, and a problem shared by practically any software platform. One of our potential solutions to this was to create a version of our platform that operates solely as a Microsoft Teams app; something that can be pre-installed by organisation admins and doesn’t require users to familiarise them with something new. We hoped that emulating existing patterns and visuals from Microsoft’s provided UI framework, Northstar, would ease users into using SimplyDo, reducing the complexity of learning an entirely new platform.

There are a number of details and intricacies to this development process I won’t go into here. This article focuses on what we perceive to be the biggest advantage of this entire undertaking – removing the hurdle of user sign-up/login by utilising silent authentication. That is, leveraging the fact the current user is already logged into Microsoft Teams, then going through a token exchange process with our servers to provision a SimplyDo user account.

Unfortunately for us, this was a relatively novel process within Microsoft Teams, and documentation for this process was disparate. Microsoft have some surface level blog posts, but following our own trial-and-error, we want to share an overview of the process for anyone else who wants to include a similar procedure in their Microsoft Teams application stack.

The following information assumes usage of a React/JavaScript frontend application, a Python and/or JavaScript backend, the JavaScript package @microsoft/teams-js, and the JavaScript or Python Azure package msal. Some basic knowledge of Microsoft architecture is also assumed; for example, the idea of a tenant ID (unique to the “organisation” using your application) and a client ID (unique to your application).

We hit this wall after developing our initial silent authentication process, but in retrospect, it makes total sense. Microsoft do not want any random service to access a user’s Microsoft account login tokens, for obvious security reasons. Therefore, before any silent authentication can take place, an organisation admin must provide permission for your platform to access this.

Fortunately, due to the aforementioned @microsoft/teams-js library, this is straightforward, if a little cumbersome.

Assuming your platform requires a user to login, the main restriction with this is that your application is unusable from an initial installation until an organisation admin provides consent for users to your platform to authenticate with Microsoft. Additionally, Microsoft does not provide a way for a frontend application to check whether admin consent has been granted until any given users authentication fails, neither can we identify whether the current user is an admin or not. Therefore we need to keep track ourselves (on the SimplyDo end) when admin consent has been granted. Hopefully in the future Microsoft will provide a way to retrieve this information from them, as currently if admin consent is revoked for whatever reason, you will have a data mismatch; your application will assume admin consent has still been granted.

Firstly, and this applies to any instance where you will be using the Microsoft authentication libraries, we must initiate the authentication.

  await microsoftTeams.authentication.initialize();

Next, we initiate an authentication flow, which is again a pattern you will see throughout this process. The authentication flow opens a new secure window to access Microsoft’s identity provider; a new window is required because this content is blocked from appearing in an iframe. At this stage, your application is required to be aware of the current organisation’s Microsoft Tenant ID. There are a number of ways of doing this, I won’t go into them here.

  // Open the authentication flow window
  microsoftTeams.authentication.authenticate({
    url: window.location.origin + "/yourapp/adminConsent?tid=" + organisationTenantId,
  })
    .then((result) => {
      // On successful admin consent granting, store this somewhere
    })
    .catch((error) => {
      // Display an error message
    })

The previous snippet opens an authentication window to a page in our application. Following from that, we will redirect the user to Microsoft’s identity provider.

  const provideAdminConsent = useCallback(async () => {
    if (tenantId) {
      const queryParams = {
        client_id: "Your app's client ID",
        redirect_uri: window.location.origin + "/yourapp/adminConsentEnd",
        scope: ".default"
      };
      const consentEndpoint = "https://login.microsoftonline.com/" + tenantId + "/v2.0/adminconsent?" + util.toQueryString(queryParams);
      window.location.assign(consentEndpoint);
    }
  }, [tenantId]);

  useEffect(() => {
    provideAdminConsent();
  }, [provideAdminConsent]);

This will bring the current user through the traditional Microsoft authentication flow, after which they will be asked to provide admin consent for users to authenticate with your application. Agreeing to provide admin consent will trigger a success response; this automatically closes the popup window and runs the .then(() => {}) from the original microsoftTeams.authentication.authenticate() call. This is where your application should record that admin consent has been granted, so the admin consent option isn’t shown to users going forward. From Microsoft’s perspective, your application now has permission to access their identity service, which is required for the rest of the silent authentication process.

Step 1: Acquiring the auth token

Now that we have permission to access users’ authentication tokens in our application, the step of acquiring the token is luckily extremely simple. The key to this is the silent part of the silent authentication process; the authentication occurs without the users’ knowledge, requiring no input from them.

  microsoftTeams.authentication.getAuthToken()
    .then((authToken) => {
      // Handle success
    })
    .catch(() => {
      // Handle failure
    });

This snippet is all that is required to access the users authentication token. Nonetheless, Microsoft recommend that your application provides a manual option (e.g. username/password) in case of failure when getting the token.

Step 2: Using the auth token

This step will demonstrate how we use the token we acquired from the user in Microsoft Teams. From here, we move from our React Teams application to our backend. In our case, our authentication service is using Node with the @azure/msal-node library - We use this to get information about the user from Azure Active Directory, which in turn we will use to provision a user in our application.

  const msalClient = new msal.ConfidentialClientApplication({
    auth: {
      clientId: your_microsoft_client_id,
      clientSecret: your_microsoft_client_secret
    }
  });

  const result = await msalClient.acquireTokenOnBehalfOf({
    oboAssertion: your_user_teams_token_here,
    skipCache: true,
    authority: `https://login.microsoftonline.com/${your tenant id}`,
  });

In the first part of the code snippet, we construct an msal client to allow our authentication service to communicate with Azure Active Directory. Your clientId and clientSecret are found in your Microsoft Application Portal, and are unique to your application.

In the second part of the code snippet, we exchange the Teams authentication token for a users Azure token - allowing us to access the Azure API on behalf of the user that provided the token. We will use the Azure API to get information about the user.

The following snippet is highly generalised and will depend massively on the specifics of your organisation. The result.access_token acquired from the acquireTokenOnBehalfOf allows you to access user profile data from Azure Active Directory, depending on your app client’s scope. We use some of this information to construct a SimplyDo user account on behalf of this user; we will demonstrate this in the following code snippet, but there are a number of potential options from this point and I recommend consulting the @azure/msal-node documentation.

  request.get(`https://graph.microsoft.com/v1.0/me?$select=${fieldsToFetch.join(',')}`, { auth: { bearer: result.access_token } }

We use the /me endpoint on behalf of the user to request their user data – we then construct a SimplyDo user using their name, email address, job title and job department, where applicable. The user data we requested is dependent on the scope requested of that given user, e.g. User.Read.

Step 3: Finishing up

We have finished the Microsoft specific parts of the authentication process; we have used the user’s Microsoft token to create a SimplyDo (or your application) user on their behalf. At least until we need to reauthenticate with Microsoft at some point, we have completed the silent authentication process. From here your next step is very likely to produce an API token, which can then be used by the Teams application to interact with the backend henceforth.

Outro

Our hope is that this article distils the most important steps of Teams silent authentication. We collectively spent a fair amount of time digging through documentation for what ended up as quite a small amount of code to achieve the main objectives of silent authentication. I recommend reading up on what each function does to understand the implications of what each does, ensuring you don’t misuse your users’ data in any way.

I have personally been motivated for some time to “give back” a tutorial having utilised so many Medium articles in my process to becoming a software developer – this process finally gave me the opportunity to provide some unique insight that I personally would’ve found useful when I was developing it. If this helps you or you have any questions, please feel free to contact me at niall@simplydo.co.uk.

Post header image

At SimplyDo we maintain a relatively large and feature rich ecosystem of products and services, especially given the size of the engineering team. We are proud of the fact that everyone in the team has the knowledge and ability to touch any part of this system. In most situations this is great, it lets us work on features and resolve issues incredibly quickly, and since there is a huge amount of shared accountability we can check anyone else’s work before it is pushed to our clients.

However, there is a drawback to this: if we make changes in the stack or infrastructure it needs to be greenlit and understood by the entire team first. Through this we try to avoid “silo”-ing as much as possible, but as a consequence it is difficult for us to make sweeping changes or migrate to newer, shinier tech. This means we try to keep the knowledge required for the different platforms and libraries we use minimal, e.g., all our frontend platforms, namely the web, mobile and Microsoft Teams applications are all built with React (Native).

While this works great and maintains an overall similarity between projects, we ran into the problem that we still failed to make them slot together perfectly into one cohesive codebase. Mobile and Teams joined the web application as separate projects at some point along the expansion of SimplyDo’s feature suite. For the most part they were developed by one or maybe two engineers and don’t share a lot of code aside from some copied snippets.

Also, even though TypeScript had been around for a while, we still mostly used plain JavaScript for these packages. While everyone else was seemingly just adopting TypeScript as the new default it was difficult for us to prioritise it while keeping up with the rest of our work. As the Teams application became an interesting new focus during the heavy push to remote work during Covid, it turned out that it also came with a boilerplate template of TypeScript - this finally led us to consider adopting it more widely. After all, we had no reason not to use it and imagined that the type-safety would bring some more confidence, less bugs and a better development experience through IDE hints. Unfortunately this proved slightly more difficult than we initially thought…

Let the types commence

Our team loves innovation in technology and we always try to keep our product up to date as much as possible. Updating to the likes of Vite and pnpm has massively improved some of our core issues with previous tooling. We were all onboard with adopting TypeScript, but with thousands of files and hundreds of thousands lines of code this was not a change we could commit to all at once.

Doing so would require us to invest a significant amount of time into just rewriting all these files with oftentimes multiple components per file into TypeScript. We have yet to even fully move on from React class components, just because of how quickly the ecosystem as a whole is moving forward. There is also an aspect of not wanting to completely rewrite files with hundreds of lines of code all at once, since they have been working perfectly fine and it would just potentially risk introducing bugs.

This meant that we slowly started migrating components to TS as we touched the files for other work. The positive part of this was that we had time to figure out how to work with this new approach. We knew if we just migrated everything at once we would fall into all kinds of traps and anti-patterns, likely causing us having to redo a lot of the work again later. Thus we were able to slowly learn and improve along the way.

Unfortunately we didn’t escape this fate completely, as we didn’t really have a precise roadmap of how and where these types would be used and stored, we slowly accumulated an ever-growing type definition file. It became very hard to maintain an overview of what types already existed, in which files they were shared and how they affected the system overall. As some endpoints dynamically add or remove fields from the objects which are in our database, we often found ourselves writing either separate types in individual components or declaring fields as optional. This caused many head-scratch moments as we tried to figure out how, where and why types were located and fit together.

  // An example of patching a user response type

  type IUser = { [...] };

  type IUserMe = Omit<IUser, "groups" | "organisation"> & {
    organisation: [...]
    groups: [...]
  };

Something I have not mentioned yet but is important to add, our backend is not written in JavaScript or TypeScript, instead it is a Python Flask application. This means that we cannot easily share types between the frontend and backend. Any change to an API response required a change to the TS schemas which sometimes cascaded down to other components which weren’t supposed to be affected by the change. Our python code is also not typed, however we do use the schema package for runtime validation of payloads. This meant we had to make sure to manually synchronise request payloads in our TypeScript definitions with our Python schema definition whenever we made a change to either. Thus, adding and modifying anything was a chore. It felt like we were backing ourselves further and further into a corner while trying to maintain a sensible application.

Standardisation to the rescue

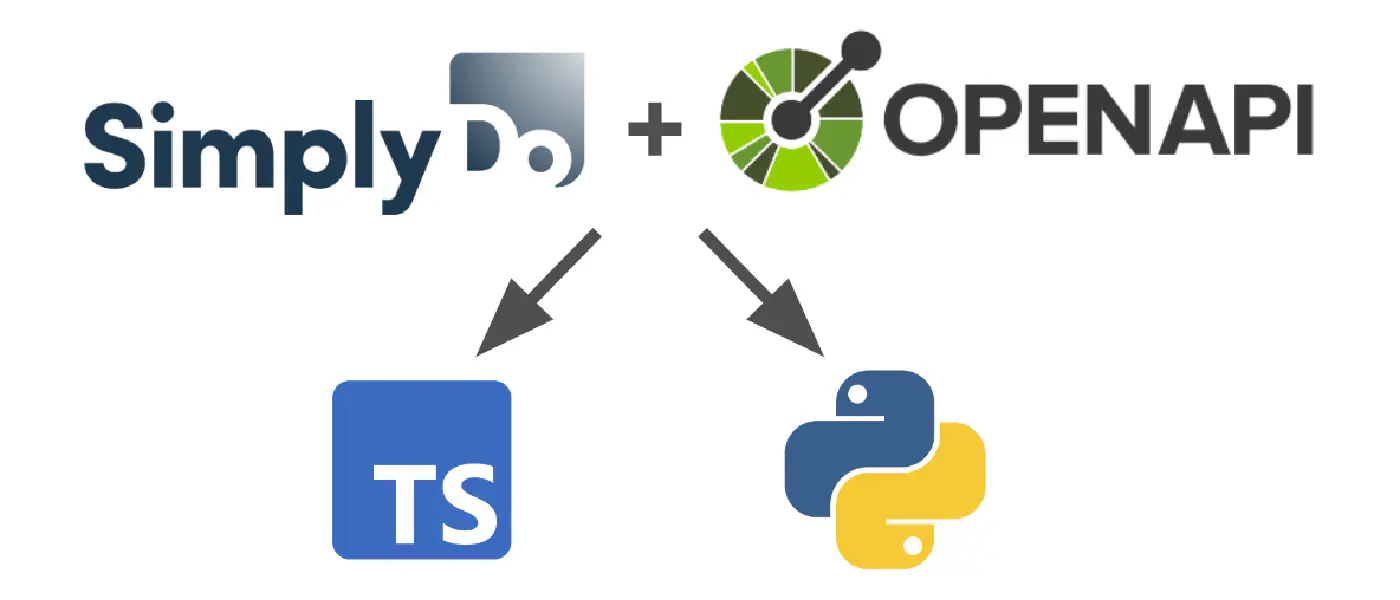
To combat these issues we were looking for a solution which would give us a strong source of truth for our database models plus route-based type definitions which could be exported into Python and TypeScript. Luckily, there is a well maintained, widely recognised standard with a large community: the OpenAPI specification. By adopting OpenAPI we were able to escape the lock-in of our technology stack and focus on just creating the specification of our schemas and types separately to mimic the desired functionality of the product.

This is the general layout of our openapi package:

  openapi
  ├─ index.yaml
  ├─ routes
  │  ├─ ideas.yaml
  │  ├─ users.yaml
  │  └─ [...]
  ├─ schemas
  │  ├─ assigns
  │  │  ├─ ideaAuthors.yaml
  │  │  └─ [...]
  │  ├─ ideas.yaml
  │  ├─ users.yaml
  │  └─ [...]

  • The main index file just imports all "schemas" and "routes". All you need to be aware of here is that "/" needs to be replaced by "~1" as per a quirk of OpenAPI’s specification language.

    Excerpt of the index file:

     1# index.yaml
     2
     3components:
     4  schemas:
     5    Idea:
     6      $ref: './schemas/ideas.yaml'
     7    User:
     8      $ref: './schemas/users.yaml'
     9
    10paths:
    11  /ideas/{id}:
    12    $ref: './routes/ideas.yaml#/~1{id}'

  • "schemas" reflect the data structure of our database as-is. This means that every file represents exactly one collection in our database, and with that all the possible types of the documents within. By creating these schemas as a base to our types, we can always be sure that we have a very well defined reflection of the data in our database. On top of this we can then build the actual API responses.

    An example of such a file:

     1# schemas/ideas.yaml
     2
     3description: >
     4  User generated ideas  
     5type: object
     6required:
     7  - _id
     8properties:
     9  _id:
    10    $ref: '../schemas/other/objectid.yaml'
    11  user:
    12    $ref: '../schemas/other/objectid.yaml'
    13  [...]

  • "routes" are reflective of the paths in our API. For organisation purposes we use the first element in the path of a request as the filename. For example, "/ideas/{_id}" is hosted within "routes/ideas.yaml".

    An example of what a route might look like:

     1# routes/ideas.yaml
     2
     3/{id}:
     4  get:
     5    tags:
     6      - ideas
     7    summary: Get idea by id
     8    description: |
     9      Get idea by id      
    10    parameters:
    11      - name: id
    12        in: path
    13        description: The idea id
    14        required: true
    15        schema:
    16          $ref: '../schemas/other/objectid.yaml'
    17    responses:
    18      '200':
    19        description: OK
    20        content:
    21          application/json:
    22            schema:
    23              allOf:
    24                - $ref: '../schemas/ideas.yaml'
    25                - $ref: '../schemas/assigns/ideaAuthors.yaml'

As you can see this particular route returns the schema of an idea almost exactly as it exists in our database. The only addition to the base-model is an "assign" action, we use these for for situations where multiple endpoints enrich the same data at return time. We define these as separate files that act as mixins, this lets us add information to our return data without needing to muddle it with our strong database types.

One example of what such an assignment file may look like:

1# schemas/assigns/ideaAuthors.yaml
2
3type: object
4properties:
5  owner:
6    properties:
7      profile:
8        $ref: '../../schemas/users.yaml'

In this example, we add an "owner" to the idea which has the type of a user object. This is useful as it lets us attach a user’s profile instead of just the user’s ID itself.

Bringing it all together

Now the definition of the API with all its responses and every definition in our database is nice for documentation’s sake but does not actually help us in the code yet. To actually use them in TypeScript and Python requires an additional transformation.

  • First we build the entire definition into a single .json file using the openapi-generator-cli. This is useful for further processing in TS and Python. We also use this to host the docs using a very simple Express server and Swagger UI (swagger-ui-dist).

  • This single file is then exported as a TypeScript schema using openapi-typescript.

    Right away we started replacing a lot of our manual type definitions with the auto generated ones. In most cases a simple drop in replacement does the trick.

    1- import { IUser } from 'simplydo/schemas';
    2+ import { OpenAPI } from 'simplydo/schemas';
    3
    4type IUserChipBase = {
    5  - user: Partial<IUser>,
    6  + user: Partial<OpenAPI.Schemas["User"]>,
    7}

    For more complex situations where we need the actual return type of specific routes, we added the following helpers. They allow us to extract the “success” response body directly as a type. Generally our API returns JSON when successful and an HTTP error code otherwise, so we don’t have to worry about extraction of error data.

     8type Paths = OpenAPI.paths;
     9
    10type RawResponses<Path extends keyof Paths, Method> = Method extends keyof Paths[Path] ? Paths[Path][Method] extends {responses: infer Y} ? Y : never : never
    11
    12type Response<Path extends keyof Paths> = {
    13  [method in keyof Paths[Path]]: 200 extends keyof RawResponses<Path, method> ? RawResponses<Path, method>[200] extends {content: {'application/json': infer Y}} ? Y : never : never
    14}

    This is further narrowed down to the individual response types. By just supplying the type with a path it automatically resolves to the correct payload.

    13export type GET<Path extends keyof Paths> = Response<Path> extends {get: infer R} ? R : never;
    14
    15export type POST<Path extends keyof Paths> = Response<Path> extends {post: infer R} ? R : never;
    16
    17export type PUT<Path extends keyof Paths> = Response<Path> extends {put: infer R} ? R : never;
    18
    19export type DELETE<Path extends keyof Paths> = Response<Path> extends {delete: infer R} ? R : never;

    We use this in all of those situations where our API responds with a custom payload instead of the actual database schema (which *hint* happens a lot). For example, to store the result of the "/ideas/{id}" call we can use this response type instead of just the base schema. This enables access to the "owner" object as assigned by the mixin we defined earlier:

    const [idea, setIdea] = useState<Schemas<"Idea">>();
    > idea.owner // x ts-error here
    
    const [idea, setIdea] = useState<GET<"/ideas/{id}">>();
    > idea.owner // ✓ this is now allowed
    

  • Finally, we also export the definition as a Python schema validator. We built a custom code generator for this, since most solutions out there create way more boilerplate code than we needed. It simply reads the tree-like structure of OpenAPI and exposes an "is_valid(payload, get_reason=False)" call to check any payload.

    On the python side we can import and use our openapi package as follows:

    65from openapi.validation import idea_validator
    66
    67is_valid = idea_validator.is_valid({
    68    "name": name,
    69})
    70if not is_valid:
    71    raise errors.APIException("Invalid request", status=400)

This approach allowed us to slowly implement types and thus more confidence into our everyday work. The only commitment we have is to always enforce OpenAPI schema changes for pull requests if and when parts of the API have changed. Apart from that, we can now work on the important parts of the product and let the types help us, without compromising huge chunks of time just to introduce them everywhere. We also don’t have to think about how we structure the types, as they already exist exactly in the format that our API actually responds with.

Hopefully this has provided some insight into how OpenAPI can be an incredibly useful tool to incrementally add typing to a large codebase such as ours.

Post header image

30 October 2023 (1 minute read)

Introducing the SimplyDo Dev Blog

Welcome to the SimplyDo Dev Blog! In this space we look forward to sharing news and articles from our technology and product team as we continue to build and develop our award-winning platform.

With customers ranging across healthcare, policing, government, defence (and more!), we serve people from across the world every day in a variety of innovation-focused use-cases — from tools and apps to source innovative ideas from within (and without) the organisation through to the deployment of cutting-edge technologies to power business and industry discovery and due-diligence for supply-chain enrichment and diversification.

We’re a small team at SimplyDo, but we listen closely to our users. We know exactly how to leverage technology to build excellent product capability that actually solves real-world everyday problems, and we’re committed to delivering all of this through fantastic, accessible, and easy-to-learn user experiences.

Aligning ourselves with the spirit of our own product, we believe that an openness in sharing solutions helps to foster a more collaborative and positive technology ecosystem. As such, in this blog we’ll talk about how we solve some of the more interesting or complex challenges we face — whether this be in infrastructure, code or user experience.

If you have any comments, feedback or questions, please do reach out to us on dev@simplydo.co.uk.